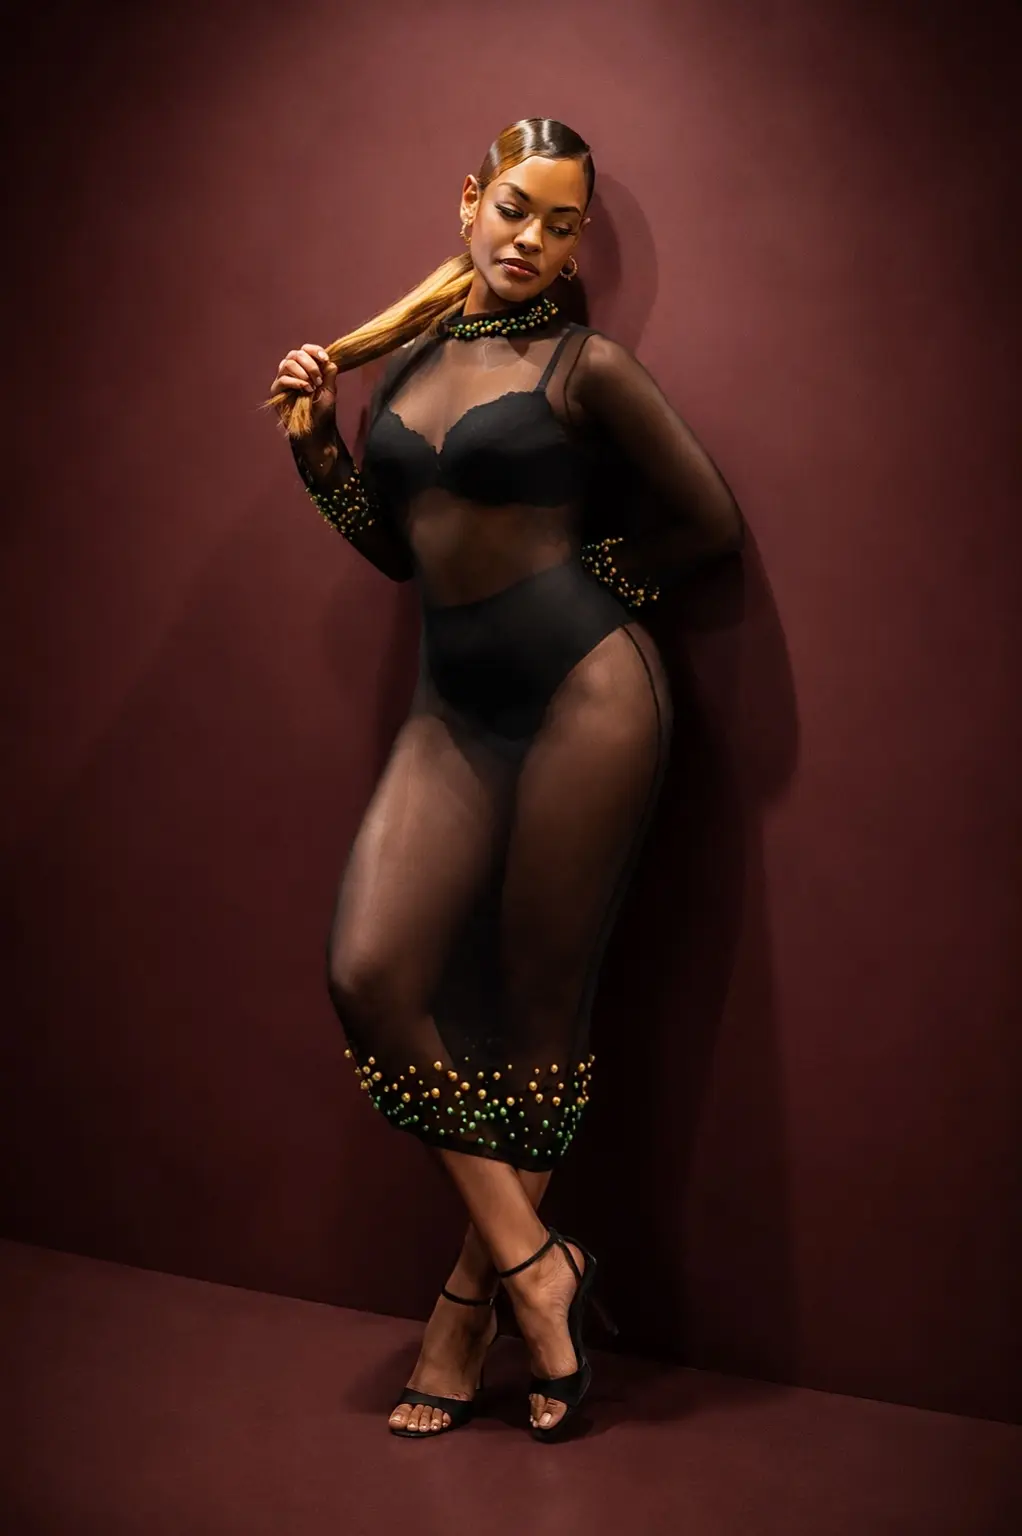
Start with direction, not power
A polished portrait usually begins with deciding where the light should come from.
Place your light about 45 degrees to one side of the subject and slightly above eye level. Aim it down toward the face instead of firing straight across the room. That angle creates shape under the cheekbones and jaw while keeping both eyes alive.
Before changing power, move the light. Closer makes the modifier appear larger relative to the subject, softening the shadow transition while creating more exposure difference between the subject and background. Farther away makes the source appear smaller and often harder, but keeps intensity more even across a deeper scene. Position changes the character of the portrait more than a tiny power adjustment ever will.
Build the frame in the right order
- 01Set the background
Choose the angle and remove distractions before the subject steps in.
- 02Set ambient exposure
Decide how bright the room, sky, or street should look without flash.
- 03Add the light
Bring the face up to the exposure you want, then fine-tune the light position.
- 04Direct the subject
Turn the body and face until the light works with the pose instead of fighting it.
This order keeps you from chasing settings. It also makes location work faster because every change has a clear reason.
Let the shadow side do its job
Beginners often try to erase every shadow. That usually flattens the face. Keep some shadow on the side farthest from the light so the portrait has depth. If it becomes too heavy, place a white wall, foam board, or reflector opposite the light and move it closer until the shadow opens naturally.
- For a clean beauty look, bring the light closer to camera and soften the shadow ratio.
- For more drama, move the light farther to the side and keep the fill subtle.
- For glasses, raise or shift the light until the reflection leaves the lenses.
Make the setup repeatable
Take a phone photo of the final light position and write down the camera settings, flash power, modifier, and approximate distance. The goal is not to copy the same picture forever. It is to create a dependable starting point that leaves more attention for expression, wardrobe, and direction.
Technical control should create more room for the human moment—not become the moment.